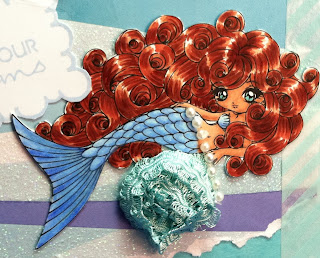
 Today I have a cool website and a comparison of two cardstocks for Copic coloring to share with you. The image above on the left is colored with Boise HD Color Copy Cover and the image on the right is colored on Copic X-Press It Blending Card.
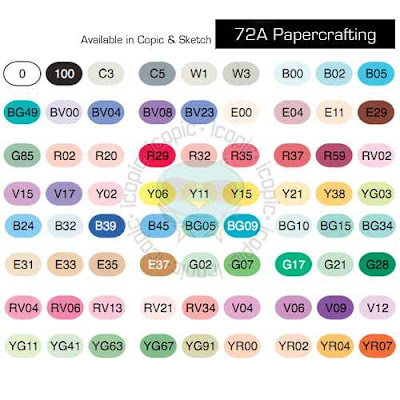
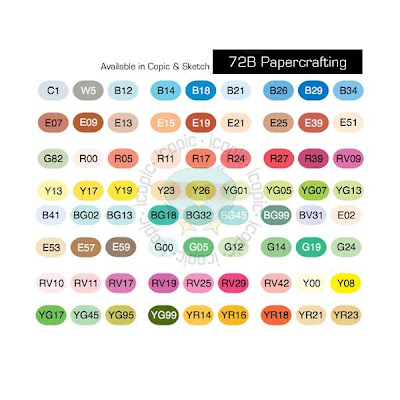
I don't get to surf the web as much as I would like to anymore so I am not sure if this is new news for any of you.... but I just found a great site called Copiccolor.com-The online community for copic fans and collectors. This is an off shoot of Too International's Copicmarker.com site and it is fabulous! Why do I think that you ask...well it is mobile optimized. This means it behaves much like Facebook...you can even login to the site via your facebook profile. So if you have an iPhone you can walk with your copic marker collection info in a neat and easy to view way. No more carrying paper lists or your whole copic journal when you go to the store. it is great because you can select which copic marker colors you have and even what type...original, sketch, ciao, wide, refill...etc.... That is one major problem I always have...remembering which copic refill colors I have versus which ones I need/ want... This tool allows you to have a mobile/online version of which ones you want versus which ones you have. NO MORE ACCIDENTAL DUPE PURCHASES or forgetting to pick something up while you are out. Another great feature of this site is the communities... there is a really great one just for PAPERCRAFTERS....you can see all the latest creations from all your favorite papercrafters...and they list what copic colors they used on their project. You can even follow them just like you would on Facebook or Twitter...so no more visiting every individual blog out there just to get some inspiration...just log in to CopicColor and visit the Papercrafters page to see some gorgeous coloring! Loving this!
I am sure there is more to love on there too but I only just discovered the site yesterday after "Like"ing the Copic Markers page on Facebook.
Copic Tip: How to select the right cardstock for your copics...
This is a very subjective topic. Everyone has their favorite cardstock to use with their markers. My favorite is X-Press It Blending Card. I find that that is the easiest cardstock for me to use as far as ease and quickness of blending. Well most of you know that X-Press It cardstock is expensive because it is imported from down under... I have gone through most of what stock I have very quickly and was trying to decide if it was in my budget to re-order when I came across a post on Splitcoast Stampers regarding what the best cardstock for copics is. Someone said they got a sample of Hammermill Color Copy Cover from Staples and they liked that better than Neenah Cardstock. I used to use PTI, then Neenah, then CC Designs as far as my favorite cardstocks to use so this post intrigued me. I googled the Hammermill and saw it was sold by one of my clients at work...TigerDirect.com. My favorite client that I deal with on a daily basis at work is this fabulous lady that works at Tiger's sister company. Well a lightbulb went off in my head...I wonder if she gets an employee discount. Well I decided to ask her and she told me she can order from their catalog at cost. So when we searched for the Hammermill they had it but not 8.5X 11 size. She found something similar called Boise HD Color Copy Cover. This one had the same brightness (98) same weight (80lb). I decided for $9.50 a for a ream of 250 sheets I might as well try it out. After shipping it came to under $15. That is approx. $.06 a sheet. I received the ream 3 days after placing the order.
HOW TO TEST PAPER WITH COPIC MARKERS
1. Draw a circle using a Copic Multiliner Pen.
2. Use a light color marker (R20) to color about half the circle right up to the line and let dry for 10 minutes.
3. Check to see if the ink bleeds or feathers past the edge or your circle.
4. Check to see if the ink looks even and well blended and the color looks bright not faded and too speckled with white. Your overall goal should be a smooth blended image with no streaking.
5. Turn the cardstock over and check to see if the ink saturates the back and looks even.
6. Check to see if you are able to correct mistakes using your O colorless blender marker.
If your cardstock passes these tests...it is ok to use with your copic markers.
Here I compared the Boise HD Color Copy Cover to Copic X-Press It Blending Card.

Price: Boise- $.06 per sheet ($15 for 250 sheets) vs. X-Press It $.46 per sheet ($57.99 for 125 sheets) WINNER- BOISE
Weight: Boise- 80 lb vs. X-Press It- 92 lb WINNER- X-PRESS IT
Smoothness: same ultrasmooth finish
Brightness: Boise- 98 vs. X-press It- unsure of the number but it is slightly less bright than the Boise WINNER- BOISE
Saturation: same

Ink Clarity: Boise- small amount of speckling vs. X-Press It- tint amount of speckling WINNER- XPRESS IT

Above- B91 B95 B97 blended on Boise

Above- B91, B95, B97 blended on X-Press It
Feathering- Boise- small amount of ink spread..or feathering vs. X-Press IT- minuscule amount of spread. Ink tends to pool on the surface of this cardstock giving you more time to work with it before drying WINNER- X-PRESS IT


Coloring Method- Boise- layering light to dark circular motion blending works best; X-Press It- dark to light flicking method works best WINNER- X-PRESS IT
COLORLESS BLENDER- Boise- takes work but can still use 0 to push ink and correct mistakes but it is hard to completely move dark colors; X-Press It- easy to correct mistakes WINNER - X-PRESS IT
OVERALL RESULT: Best Cardstock to me is still X-Press It, but if you are looking for a similar cardstock and would like a more budget friendly option, I recommend trying Boise HD Color Copy Cover. It works with copics and if you are just starting out, it is very cost effective to practice on and still have beautiful results. Stamp used for image- The Greeting Farm Miss Anya Hats Off, Memento Tuxedo Black Ink, Copics: Skin- E23, E25, E27, E29 Hair- E23, E25, E27, E29, E49 Denim- B91, B95, B97 Clothes- RV00, RV63, RV66, V91, V93, V95, Boots- E31, E33, E34, E35, E37
 Happy Wednesday! I made this card to give to my friend Rhiannon who just received a promotion at her job. Way to go Rhi! When I saw this stamp from Make It Crafty, I immediately thought of Rhiannon. The island flower and bright colors are so her style!

