Showing posts with label Copics. Show all posts

Thursday, February 14, 2013

Happy Valentine's Day


Happy Valentine's Day!

I wanted share a quick valentine with all of you.  Hope you all have a lovely Valentine's day. 

Supplies:
Stamp: Dreamy Vanessa Digi from Make It Crafty
Paper and stickers- Basic Grey True Love
Copics: Hair-E50 E31 E33 E37 E59 Eyes- B05 Skin-E000 E00 E11 RV42
BG70 BG72 BG75

Wednesday, February 6, 2013

Got Washi and Copic Color Matches for Basic Grey Soleil


I am loving the Basic Grey Soleil collection of papers!  These are all my favorite colors.  I thought it would be cute to color up Saturated Canary image Washi Tape Kinda Girl and pair it up with this cute paper.  I threw in some assorted washi tape from my collection and broke out my Spellbinders Nestabilities Card Creator A2 Dies to make the layers nice and straight.  I can honestly say that did not miss measuring on the paper cutter, not one little bit.  I used a Lil Inkers die to cut out the background on the sentiment and a random heart sticker. 


Some Copics color matches for the Basic Grey Soleil Collection:
R81 R83 R85  Y00 Y13 Y18  V12 V15 V17

Supplies:
Stamp: Washi Tape Kinda Girl digi by Saturated Canary
Paper: Bosie HD Color Copy Cover, Basic Grey Soleil
Copics: Hair-E50 E31 E33 E37 E59 Eyes- B05 Skin-E000 E00 E11 RV42
R81 R83 R85 Y00 Y13 Y18 V12 V15 V17


Wednesday, December 19, 2012

It's Your Birthday


I did it!  I made a card!  After work!  On a Tuesday! 

It is shocking, but true.  I was determined to make this happen.  I needed to send my Grandmother a birthday card last minute.  I thought I was going to see her in person on the weekend and would have plenty of time to make the card.  Well after Sandy Hook, she is so sad and she has a cold and she swears it is the end of the world ...so she has banned us from coming to the house this weekend.  *Sigh*  Hopefully this card will cheer her up. 

Stamp: The Greeting Farm- Hats Off Miss Anya, Paper: Kaisercraft Up Up and Away, Accessories: Ribbon , rhinestones, sentiment from stash, Tim Holtz Distress Ink Dusty Concord Marker, Memento Tuxedo Black Ink,
Copics: Skin- E23, E25, E27, E29 Hair- E23, E25, E27, E29, E49 Denim- B91, B95, B97 Clothes- RV00, RV63, RV66, V91, V93, V95, Boots- E31, E33, E34, E35, E37


Tuesday, December 11, 2012

New Copic Blending Sets...more options for choosing Copic Color Combinations.

Have you seen the news over on the Copic Marker site?  They just released new copic blending sets in 3's!

Copic has taken the guess work out of choosing colors with their new Color Fusion and Blending Trio Sets.

It looks like there are 6 Color Fusion and 7 Blending Trio sets. 

This is the information from the Copic Marker site-


Color Fusion Sets- are an affordable way to achieve perfect blends.  The set contains three preselected colors in an ideal belnding group.

Color Fusion Set 1: V20-S, V22-S, V25-S

Color Fusion Set 2:  RV000-S, RV52-S, RV55-S

Color Fusion Set 3: E04-S, R56-S, R59-S

Color Fusion Set 4: YR20-S, YR23-S, YR27-S

Color Fusion Set 5: G40-S, G43-S, G46-S

Color Fusion Set 6: B01-S, B04-S, B06-S


Blending Trio Sets- great for starting or extending your collection.  Combinations selected to deliver perfect blends every time!

Blending Trio Set 1: G40-S, G94-S, G99-S

Blending Trio Set 2: B12-S, B14-S, B18-S

Blending Trio Set 3: RV63-S, RV66-S, RV69-S

Blending Trio Set 4: R12-S, R14-S, R17-S

Blending Trio Set 5: Y00-S, Y13-S, Y18-S

Blending Trio Set 6: E95-S, E97-S, E99-S

Blending Trio Set 7: E70-S, E74-S, E79-S

The Copic Marker site is selling the sets for $20.97 each.  That is the MSRP of $6.99 a marker. Ouch!  Maybe you can ask Santa to stick some of these in your stocking!


Saturday, December 1, 2012

It's been a while...


It's been a while since I have posted.  So sorry for being gone for so long.  Hurricane Sandy really took its toll out here on the east coast.  It made things very difficult for a while for me getting to work and servicing my customer base who couldn't return to their offices in lower manhattan.  I am happy to say that everything is back to normal for me.  The "Zombie Apocolypse" effect that occurred the first two weeks after all of the devastation is over.   There have been so many effected and my heart goes out to everyone who lost their homes, possessions, jobs and even loved ones.  I am hoping to be able to go to Jon Bon Jovi's benefit concert 12-12-12 where all of the proceeds are being donated to Sandy victims.

I made this card while the power was out for a week.  I am hoping now that things are back to normal, I will be able to get back to my crafting.  

(Stamp: The Greeting Farm's Sweet Treats Anya, Paper Stickers and Washi Tape: Teresa Collins Tell Your Story, Copics)

In the meantime I have been having a ball with one of my newest hobbies... DIY Soak Off Gel Manicures.  I got the Sensationail Starter Kit that includes the LED lamp from drugstore.com (on sale till Monday $34.99).  

I am in love with Soak Off Gel.  It cures under the LED light in under a minute and then it is dry! No more painting your nails and then waiting hours for them to dry.  Plus the manicure lasts 1-2 weeks with out chipping and flaking off.  

I have been changing my polish every week because I like playing with the colors and trying to do different effects.  The soak off process takes some getting used to but I think I have gotten the hang of it.  With Hands Down nail wraps (they look like bandaids) and a little heat.  You soak for 10-20 minutes and then just push the softened gel right off your nail.  

When I did my first soak off gel manicure my nails were short and bitten down to the quick.  Below is have much they have grown in just 8 weeks.  I have been mixing and matching colors from other brands: Gelish, Red Carpet Manicure, Mally Beauty, and IBD too. It all works with the Sensationail LED lamp.  


(Top: Sensationail French Manicure Sheer Pink Kit + Red Carpet Manicure White Hot,  Bottom:  Sensationail Mauve Maven)

My Christmas shopping is done and now I need to start wrapping everything.  Now I need to get the Christmas cards done!


Monday, October 29, 2012

Sandywatch and Halloween


I am sitting home waiting for Hurricane Sandy to make landfall.  I am using all the electricity I can before the inevitable power outages come rolling in.  3 brown outs so far.  I figured a Twilight marathon would be fitting for Halloween.   Here is my Twilight inspired  Halloween card.  Hope everyone is safe and wishing you all a Happy Halloween!


Stamps: Tiddly Inks
Paper: Echo Park
Copics: V12 V15 V17 R81 BV01 Y13 E27 E0000 E000 E30 E31 E37


Sunday, August 5, 2012

Candy Winner and Traveling Colors


1st order of business today is announcing my Blog Candy winner.  The lucky winner is #4 Mancy!  Please email me at michellena @ si dot rr dot com with your address so I can mail out your candy.  


 I finally had a chance to make a completed card.  I was packing for my vacation next week to the Jersey Shore, but I decided I just had to do at least one project. This cute Saturated Canary image reminded me of me trying to pack up my Copics to take on vacation.   I have had this digi, Traveling Colors done since the Copic Marker Europe birthday celebration and never got around to making a card out of it.  I saw this cute paper from Basic Grey Clippings and thought it looked finished enough to mount my image on.  A fussy cut and few embellies later my card was done.


Supplies-
Digi stamp- Traveling Colors Saturated Canary
Basic Grey Clippings
Epoxy Sticker Glitz Design
Recollections embellishments
Copics- B000 G00 B41 B45 B32 B34 BG11 BG32 70 T1 T3 T5 E00 E21 E51 E81 E84 E87 E89 E31 E35 E37 E39


Tuesday, July 3, 2012

Coloring on Glitter with Copics and Copic Marker Storage


Today I wanted to share a technique I learned from Krazy Kreations at Scrapbook Expo.  It is called Coloring on Glitter...for lack of a better name.  I don't remember what they called it.  In their both they sold kits for this technique.  You can find the glitter starter kits here on their website and the stickers here.  

You start off with Elizabeth Crafts Peel Off stickers.  I used the cupcakes.  


Next you take the Be Creative Sticky Sheet (Sookwang sheet) and cut it to a size to fit your sticker.  Then peel the waxy paper backing off and smooth and burnish it down onto white card stock.


 Remove the other piece of backing off and sprinkle the Ritz Glitter onto the sticky area of your card stock.  Burnish the glitter into the sticky area and tap off excess.  You can use the backing paper to really press the glitter into the adhesive.


 Next take your sticker and peel off the silhouette.  


Adhere the sticker outline to your glitter.  


 Now you are ready to color in your image.  You can color directly onto the glitter.  It will not ruin your markers.  Just scribble off any stray glitter particles on a scratch paper when you are done with your image.  


 Trim your image and adhere to your card.  


And the final result!


Have you seen the new Jetmax Storage style at Michael's?  It is branded as Recollections but if you look at the actual pieces they say Jetmax on them.  This one has a drawer, two shelves and a removable marker holder.  I am using the marker holder separately on top of my current unit.  I mixed my Distress markers in with my Copics.  I was able to fit about 6 markers per slot so you can hold about 126 markers.


Here is what the finished shelf looks like.  


Saturday, June 30, 2012

Mixed Media Hugs


I'm back with a card I have been working on for a few weeks now.  The theme of the card was inspired by a book series I am currently reading.  It is called Madly by M Leighton.  The books are about a teenage Mer Princess who is trying to save her home under the sea called Atlas.  Of course I thought a mermaid card was fitting.  

My card uses a lot of different mediums.  I started off with a plain white tag and embossed it with a Tim Holtz Alterations bubble embossing folder.  Next I sponged on some distress ink in peacock feathers and tumbled glass and some faded jeans distress stain.  I spritz with some Turquoise Tattered Angels mist and then sprayed the entire thing with Shimmer Goosebumps.  That made it slick and shiny.  I stamped the swirl pattern in Scrap Happy glue and then sprinkled with fine glitter.   

Once I had my tag done I colored my stamped images with Copics and added some Frosted Lace and Patina stickler.  I applied the fish on my card with a foam dot.  I tied on some Twinery Twine

To make my background I applied Adirondack Acrylic paint dauber in Pool directly to my Solar White cardstock.  I stamped my sentiment in Teal Zeal Memento Ink.


Supplies- Stamps Sweet November Stamps Current Ebbtide digi, sentiment by Kanban Crafts
Copics: E000 E00 E21 E04 Y06 G43 G46 BG000 B000 BG02 BG45 R56 E08 E07 BV11 YG11 BG57

Friday, June 29, 2012

Scrapbook Expo NJ, thoughts on the day and Copic class


Today was the day.  Scrapbook Expo NJ 2012.  I went, I bought, I learnt, I bought, I sweated... I need a nap! 

 The day started bright and early and it was already hot first thing in the morning.  I lined up before the doors opened with a lot of other eager ladies.  We got some coupons and some freebies.  When they finally let us onto the show floor, I raced to my favorite booth: Scrapmart.  I didn't get much there.  I got some papers and a Copic refill, and some closeout Glitz Design products.  Love their stuff and Scrapmart had them in the bin for cheap!  I got two paper pads for the price of one in the bin as well.  I then ventured around the show to other booths, did some make and takes, and burned  through my hard earned cash.   All in all, there was not much new stuff that I saw there.  I got a bunch of things I have been wanting for a while but felt like I was missing out on all the hottest and newest things.  Prices were not competitive overall.  I was disappointed about that, but my fav local scrapbooking store Scrappers' Cove saved the day.  They had great show special pricing that was lower than everyone else.  I had to move quickly because I had a morning class.  I went across the street to the hotel for classes.  Dear god it was hot.  96 degrees!  Thank goodness they had a free shuttle with the AC cranking.

I took a class called Copic Intermediate with Krazy Kreations.  The class kit contained everything we needed to make 3 cards, Copic markers B91 B93 B95, and a flower stamp.  Of the 3 cards we made, the one pictured above was my favorite.  The two below were nice too.  The company offers some cool products including the plastic pouch and pebbles for the shaker card below.  The pouch is self adhesive so it makes shaker cards a snap.  They also told us about a demo going on in the booth on coloring on glitter with Copic markers.  I went back to the show to check out the demo and fell instantly in love with the technique.  I am vacation this week so I will be trying this method out and will share with you.  I also won a class prize, another Impression Obsession stamp.  Lucky me!  


I also picked up some new mediums today to try.  I got a few more distress markers and some new inks to go with them.  I bought Ranger Archival Ink and Faber Castell Stampers Big Brush which is India ink.  I saw a demo at The Rubber Cafe using the Big Brush colored onto a stamp and then stamped onto Canvas. They then used Gelatos to add color to the image.  Well you know I had to get some of those too.   I decided to do an ink test with both new inks to see how they color with Copics and Distress Markers.


Below is  how the test went.  The top two flowers are stamped with the Big Brush.  The Faber Castell Big Brush smudges when colored with Copics.  I tried it twice just to be sure that it wasn't a drying time issue.  The bottom two flowers are stamped with Ranger Archival Ink.  It works great with Distress Markers, no surprise since it is Ranger. I colored using a Victorian Velvet and Milled Lavender Distress Marker. The image on the right was colored with R08 ad R14 Copic Markers.  Archival Ink held up pretty well to the Copic markers.  There is a tiny amount of smudge in the center of the flower.  I believe if heat set, the ink will not smear.


All in all it was a really fun first day of my vacation.  I will be back tomorrow with a mixed media project to share with you.

Tuesday, June 26, 2012

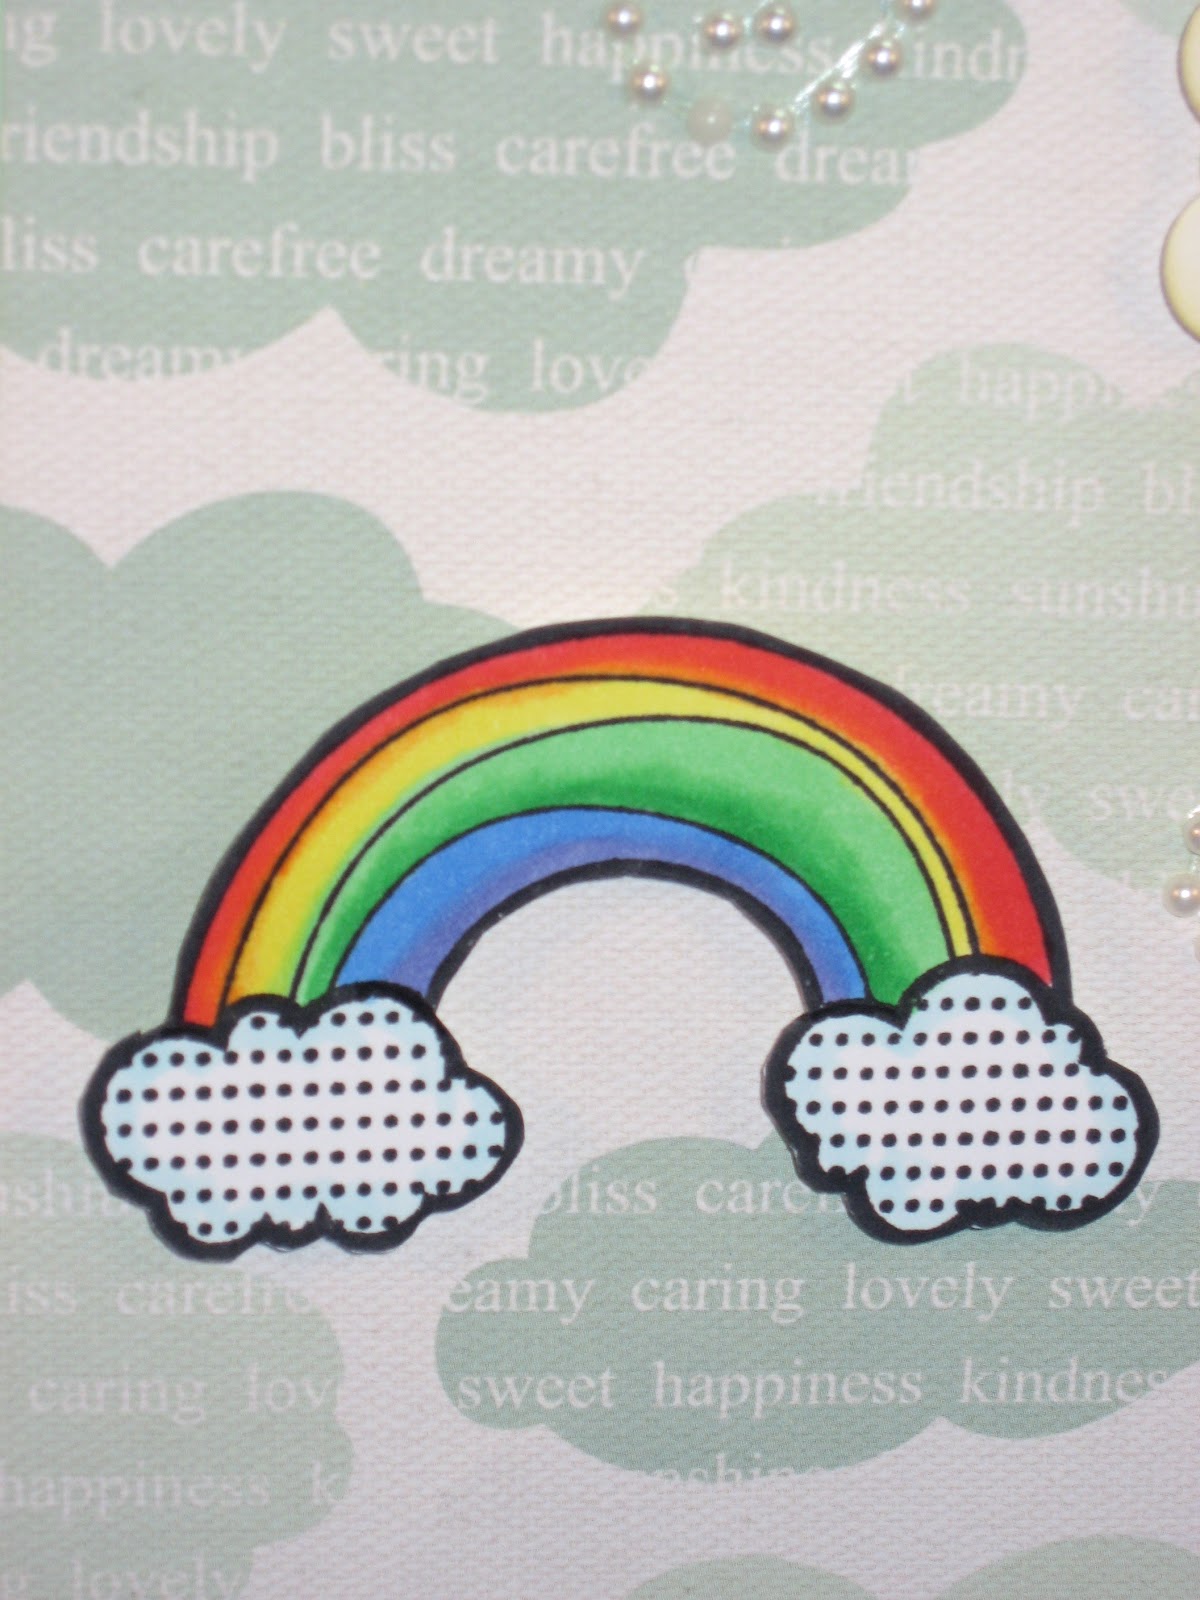
Count Your Rainbows


Happy Tuesday!  I wanted to share a quick card I made last - last weekend.  I have had this one done for a while, I just forgot to post it.  I have about 10 projects started right now and can't quite commit to one.  Does that ever happen to you?  I guess my mojo has an attention span problem. 

I found this cute American Crafts rainbow stamp and cloud paper by Echo Park at a store I discovered in New York City a few weeks back.  It is called Paper Presentation and it is down on 18th Street off of 5th Ave.  You can't tell from their website, but they have a whole scrapbooking section with a nice little sampling of products.  They have been there for years and I never knew about the store.  I am so sad.  It would have been much easier to get there when I was working downtown.  Now that I am working in midtown, it takes much too long to get there during my lunch hour.   I can't be sneaking out to go there very often.  Sigh. 

Hopefully I will find some really great things this Friday at Scrapbook Expo in Somerset NJ.  I am so excited.  I will be there bright and early and signed up to take a Copic class while I am there too. 

Supplies-
American Crafts Rainbow Stamp,Inkadinkadoo Friendly Advice Kid's Quotes stamp, Echo Park Sweet Day Up, Up and Away Paper, Solar White 5 X 7 Cardbase, Pastel Bristol, Want to Scrap Pearls, Memento Tuxedo Black Ink, Tim Holtz Antique Linen Distress Ink, PTI die, Foam dots
Copics: R24 Y13 G02, G05, B000, B24, BV13


Sunday, June 17, 2012

Ahoy Dad!


HAPPY FATHER'S DAY!

This is the card I made for my Dad.  He loves going out on his boat fishing.  I made him a gift basket of all sorts of things for his boat including the wood Ahoy sign below.  I got it at Michael's.  It was covered with a plain canvas.  I painted it gold with an Adirondack paint dauber and then sprayed it with Shimmer Goosebumps.  


 A little bit of shine!
 Supplies- Sentiment- Studio G clear stamps, Recollections Stamps Ahoy and Stern, Bristol cardstock, Kaisercraft Seaside Papers, Tim Holtz Wild Honey Distress Ink, Memento Tuxedo Black Ink, Copic Y26


Happy Mother's Day Card

MICHELLE'S MBELLISHMENTS Happy Mother's Day Card A fun fold design featuring the Boutique Blossoms Bundle This week's card was a...